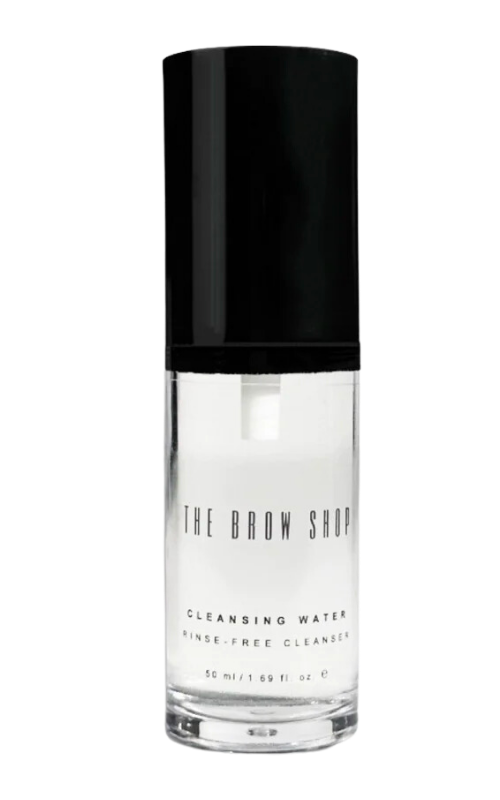
CLEANSE
▢ Dispense a pump of Cleansing Water onto a cotton pad
▢ Wipe eyebrow area until clean
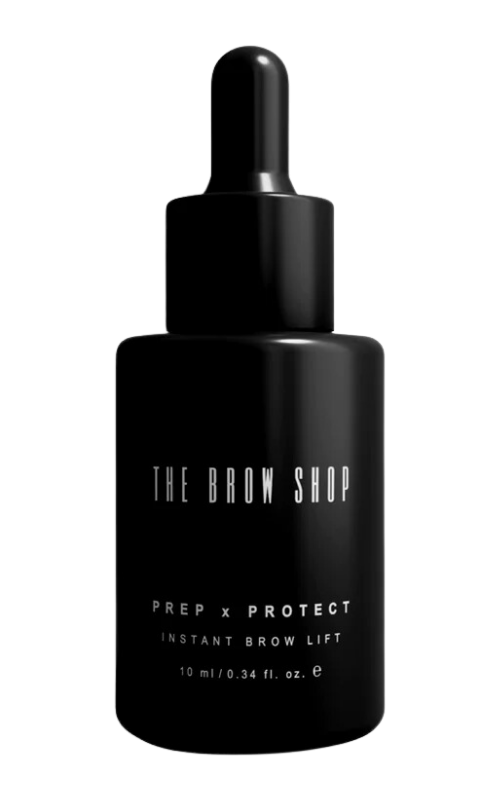
PREP x PROTECT
▢ Apply Prep x Protect
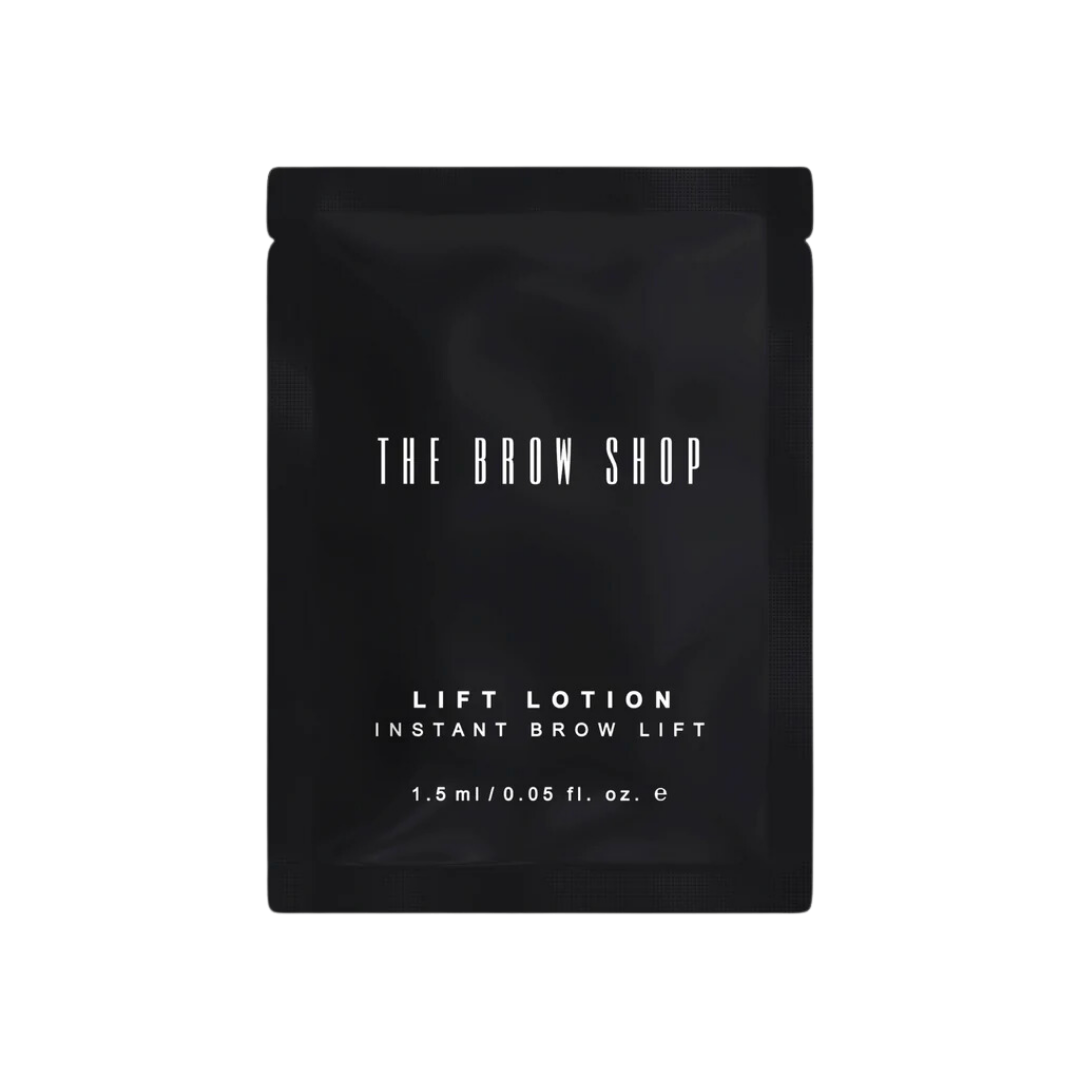
LIFT
▢ Start from the front of the brow and work towards the tail
▢ Apply the lift lotion and work it thoroughly through all the hairs and layers
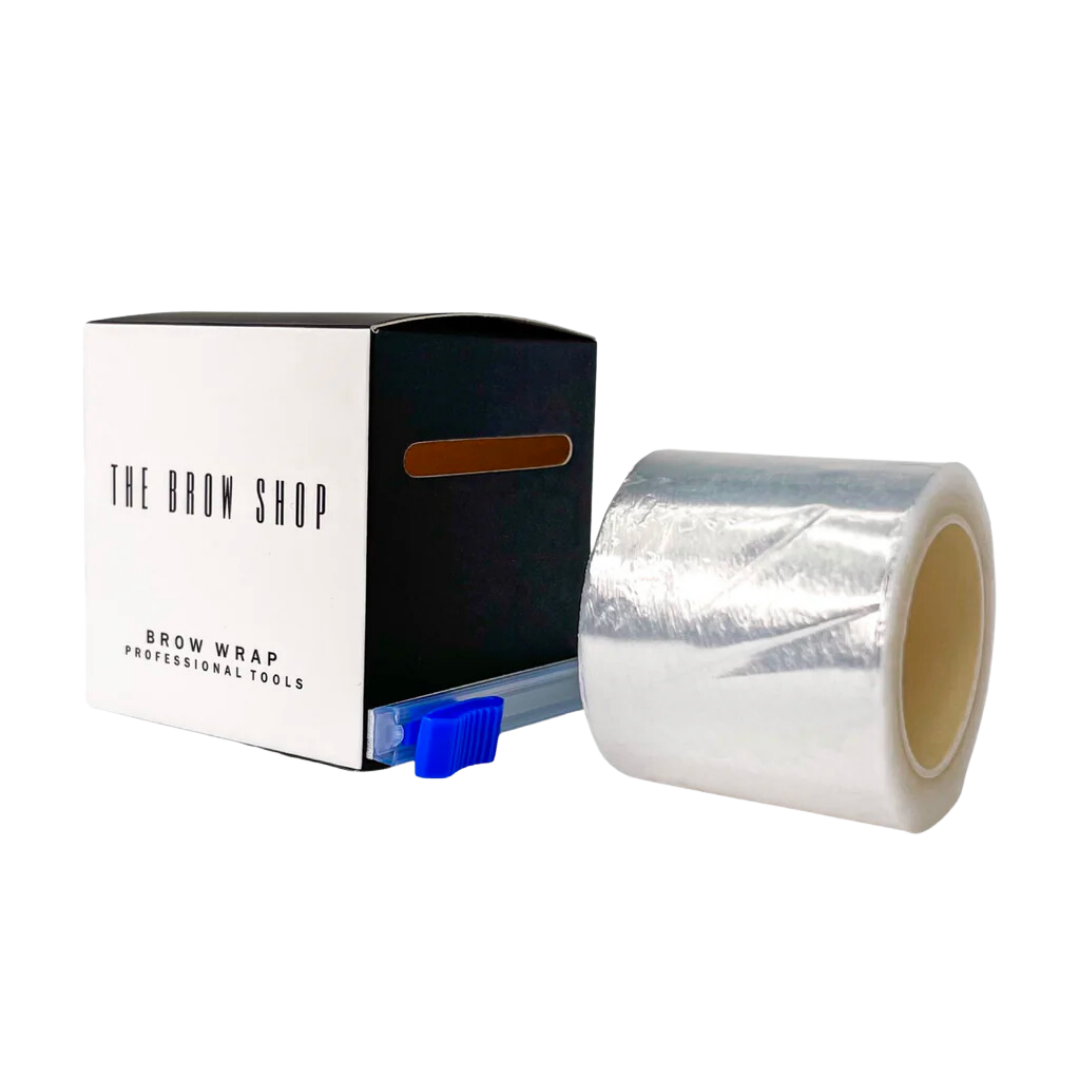
▢ Apply a plastic wrap on top of the brows during processing
▢ Check on the brows every 1-2 minutes and then check every 10-20 seconds towards the end
▢ Fully processed brows will appear silky, flexible and lay flat onto the skin
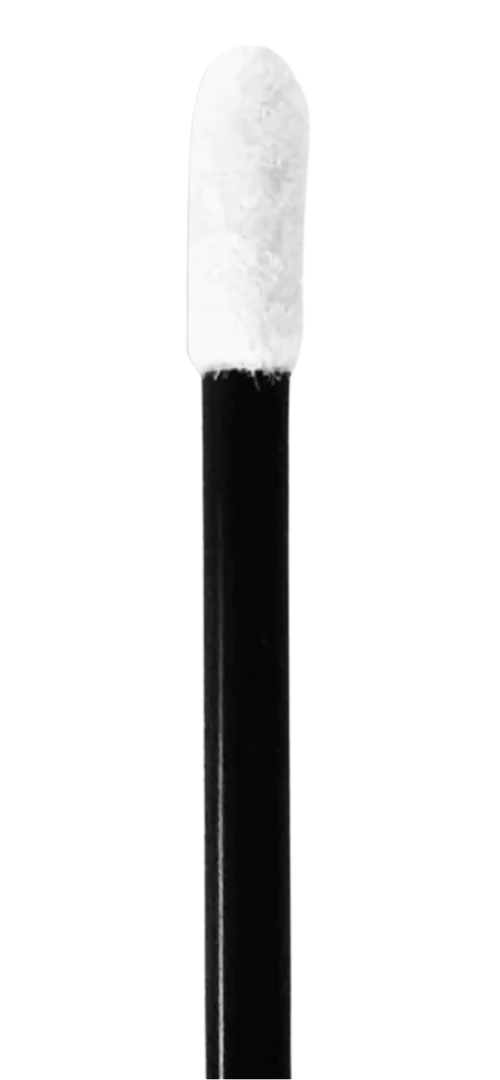
▢ Remove the lift lotion using an applicator wand
▢ Assess the brows to determine if there are areas that require spot processing
▢ Spot process if necessary
SET AND TINT
▢ Start from the front of the brow and work towards the tail
▢ Use an angled brush to apply the tint mixture
▢ Process for the same amount of time as the lift lotion
▢ Remove from the front of the brow first. Allow the rest of the brow to process a little longer.
▢ Remove the the tint mixture from the remaining of the brow
▢ Clean the brows with a damp cotton pad
BROW THERAPY
▢ Start from the front of the brow and work towards the tail
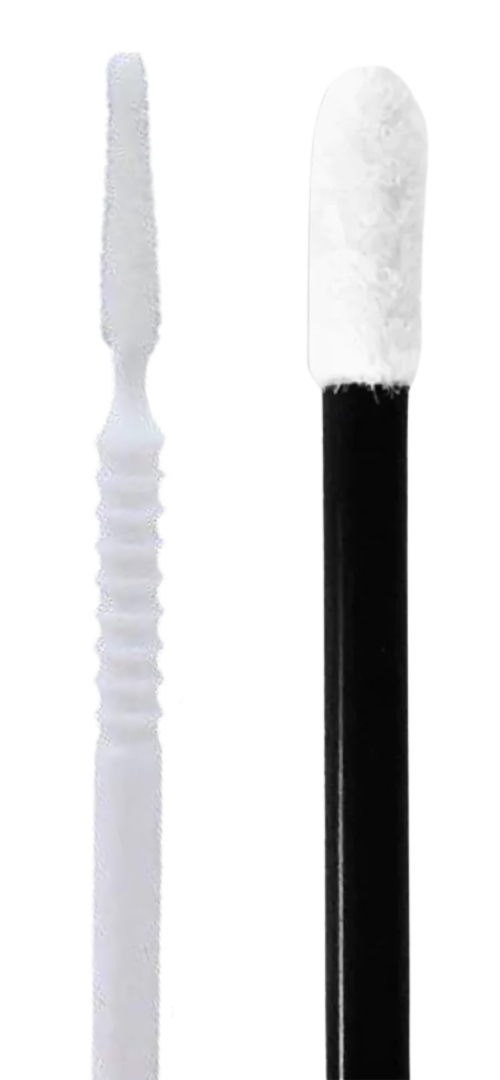
▢ Apply Brow Therapy using a microbrush and/or applicator
▢ Process for 1 minute
▢ Remove using a damp cotton pad
TWEEZE
▢ Use a brow tweezer to remove any hair that is outside the natural shape
CONDITION
▢ Use Glow Up
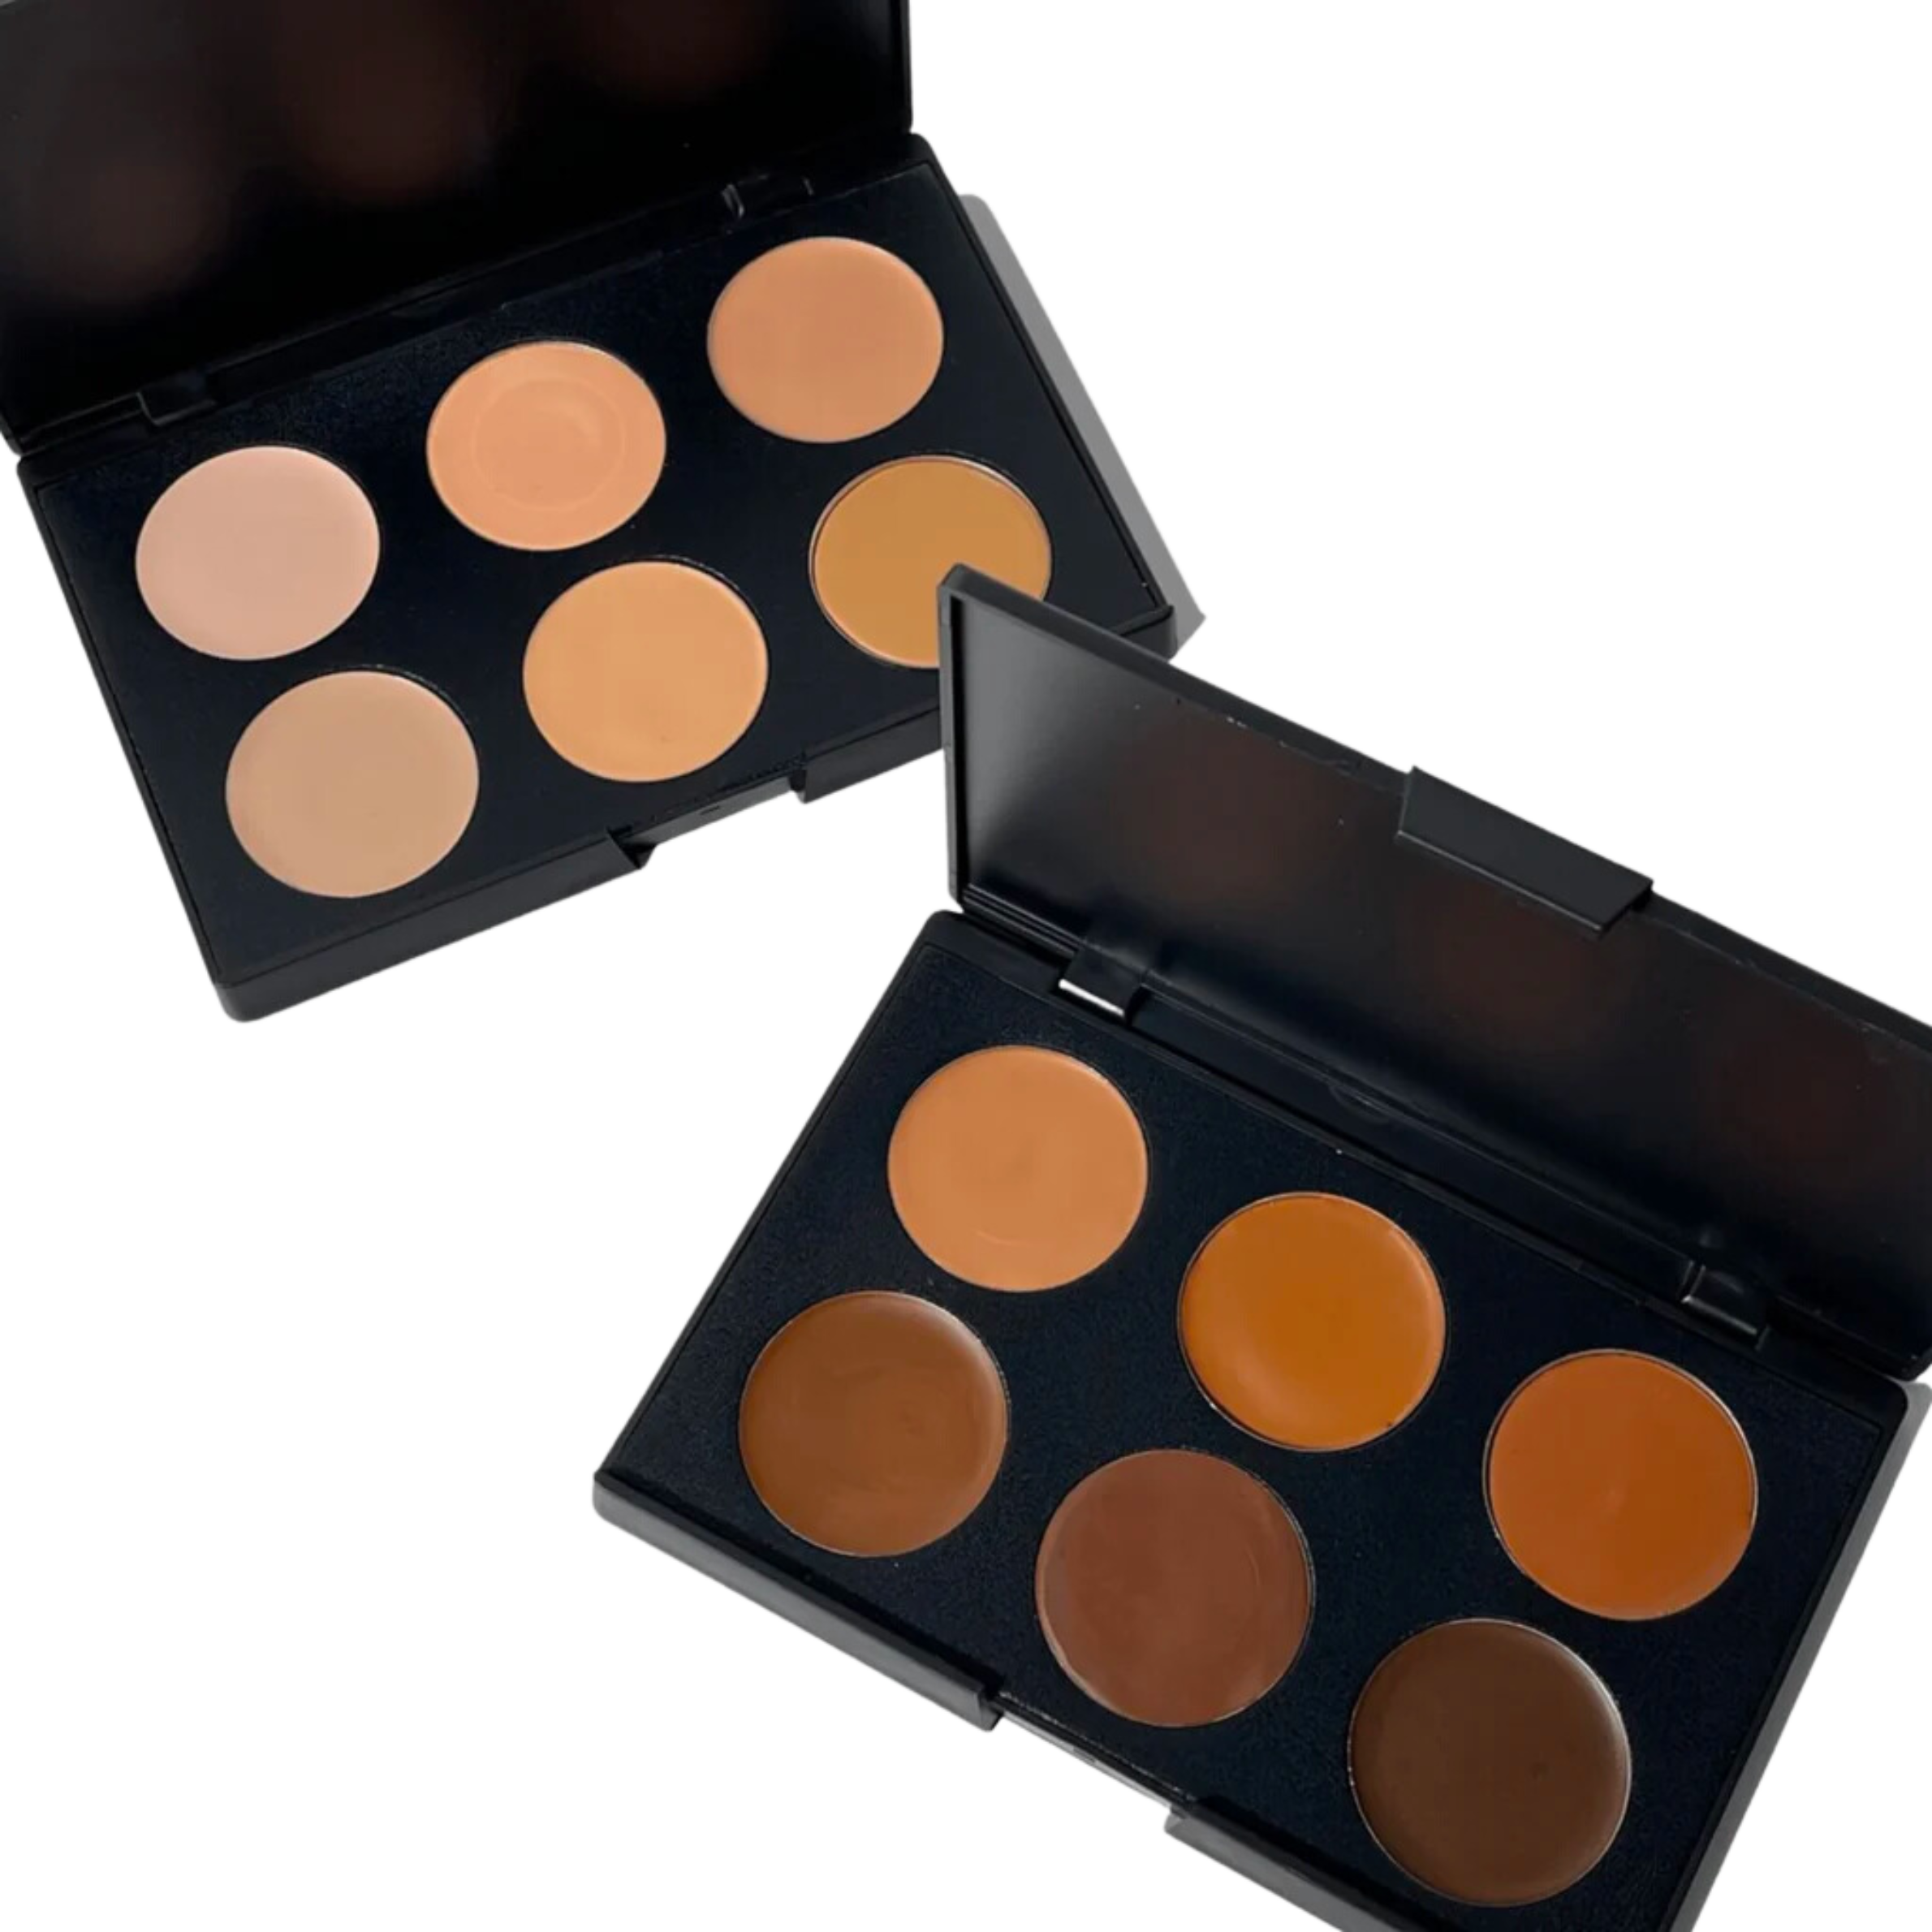
CONTOUR
▢ Outline the bottom of the brow using a concealer
▢ Blend the outline using an applicator
▢ Feather out any harsh lines using a flat brush